


Here is a little step by step tutorial for making aceo cards, hope you like it! ♥(✿ฺ´∀`✿ฺ)ノ
 | ||
First of all I start to draw the aceo outlines on paper, nomal aceo cards have a size of 2.5 x 3.5 inches (6,4 cm x 8,9 cm). I use the japanese deleter paper, it's really great for work with markers.

For my sketches I love to use my favourite mechanical pencils.
(●´□`)♡
(●´□`)♡
0,7 and 0,5mm

Starting with a raw sketch. At the beginning it don't have to be something spectacular.

Now you just have to shape the Body


When I draw hair I usually beginn drawing the fringe.

It works best when you move the pen with a flick of the wrist!

Tadaah! I'm sorry, it's a bit blurred. (⁎˃ᆺ˂)

I draw the outlines over the sketch but sometimes if the sketch is to messy I use my lightpad to copy it clearer on a new paper.

Then just erase the pencil lines away. (*´・v・)

This time I started with the hair, I choose a light shade and let the hair tips over the face white because I like it when the colour blends with the skin tone.


With a pastel pink I make blush and darken some parts of the hair. (。・ω・。) Don't worry, you can blend harsh lines away.

See, just use the primary colour again. (。´∀`)ノ

Here I used some cell shading...

...and blended it again with the first colour.

For better colour transitions I also use my beloved crayons! (●♡∀♡)

Yeah and quite the same with the skin tone...

I use very various crayon shades, just some reds, oranges, browns, pinks, flesh tones, even purple... ( ´∀`)
And now let's start with the eyes!

With the yellow I blurred the orange in the middle away, thats a cool effect.

Use darker colored pencils for the upper parts of her eyes.

Personally I don't like it when the background is too overloaded, so I just blendet some nice colours together. ヽ(´・ω・`)、

Some highlight in the hair...

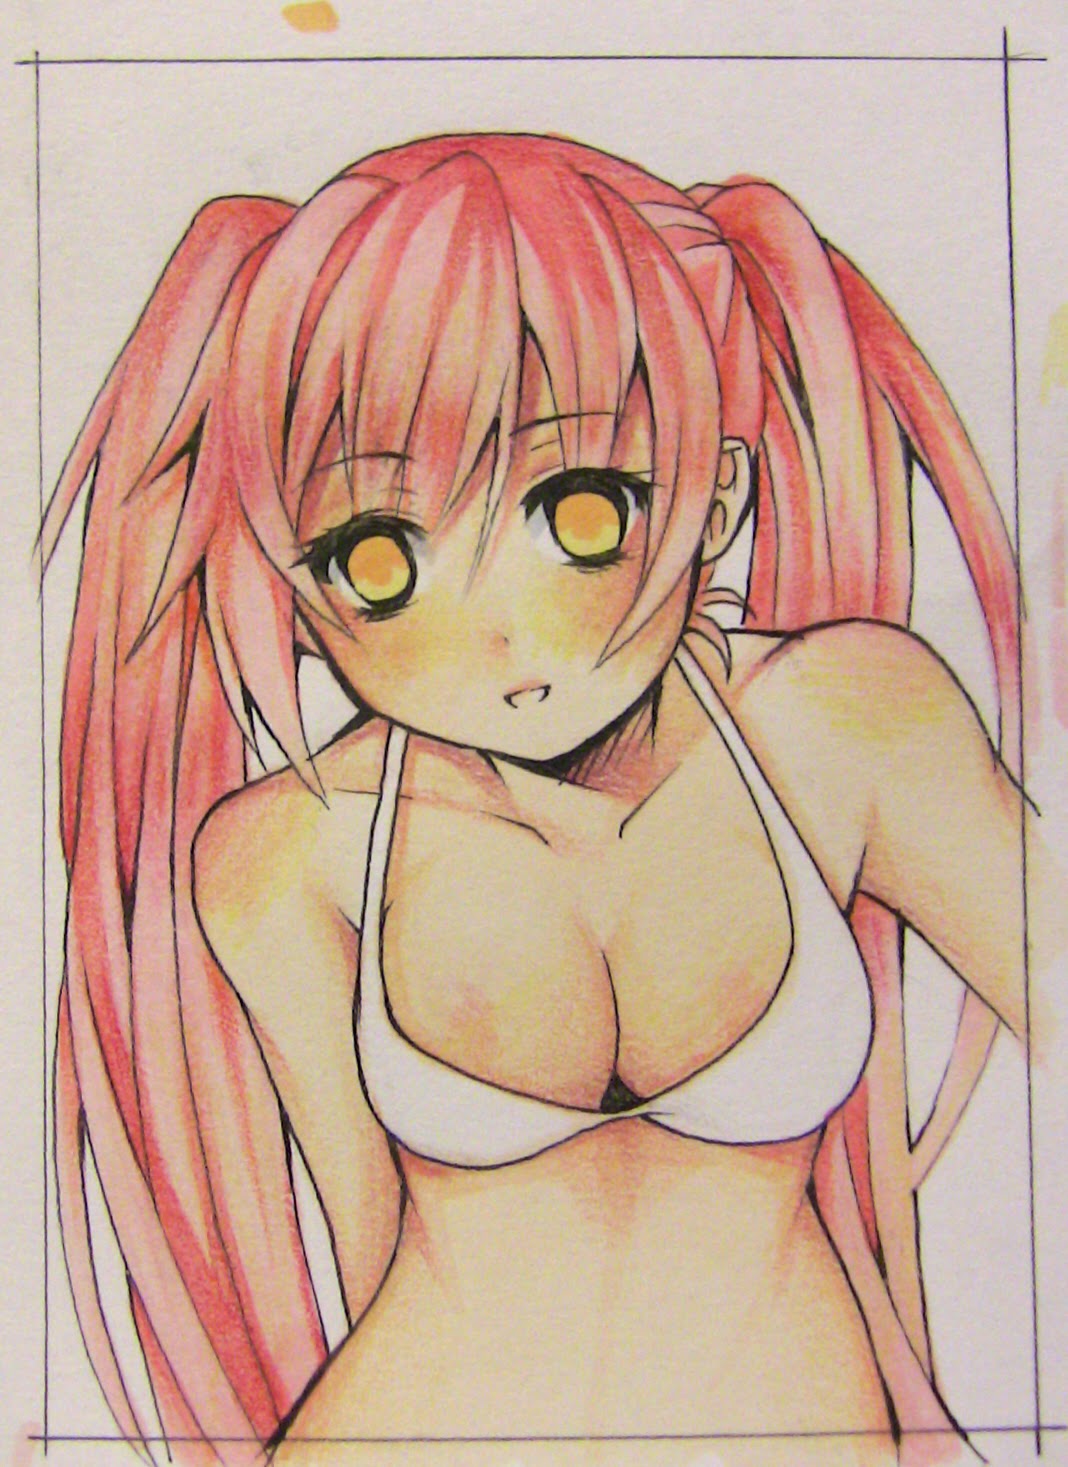
... on the eyes, cheeks and of course boobs! (ノ≧∀≦)ノ

Yeah, last but not least add some shoujo sprinkle made with white ink and a brush and you are finished!
☆*・゜゚・*\(>ω<)/*・゜゚・*☆
I hope you were able to learn something from my tutorial, it was fun!
。(⌒∇⌒。)
。(⌒∇⌒。)
The eyes are coming to life :o they are awesome
AntwortenLöschenThank ♥
Löschen